


Key Takeaways
- Good warehouse layout design starts with data, not the floor plan: Your throughput, SKU velocity, forklift or pallet picking machinery, and realistic growth forecasts should shape the layout before a single bay is positioned, so the space is built around how your operation actually runs.
- Flow is the foundation of an efficient warehouse: The three main warehouse layouts, U-shaped, I-shaped, and L-shaped, each move goods differently, and choosing the right one keeps travel, handling, and traffic congestion low as volumes climb.
- The cheapest expansion is already inside your walls: Building upward with taller pallet racks and mezzanines, rather than spreading outward or relocating, unlocks storage capacity you are already paying rent on.
- Flexibility and compliance decide whether a layout keeps working: Modular racking, expandable zones, and full compliance with AS 4084:2023 from day one are what separate a warehouse layout that grows with you from one you outgrow in two years.
Most warehouses are not designed so much as accumulated. A business moves into a building, racks the space it needs today, and then adds more racking piece by piece as stock grows, orders climb, and new product lines arrive. It works, until it doesn't. Aisles clog, pickers walk further than they should, and pallets start living on the floor because there is nowhere else to put them.
The alternative is to treat warehouse layout design as a deliberate exercise, one that plans for the business you will be in three to five years, not just the one you are today. Good warehouse design absorbs growth smoothly and makes the most of your warehouse space. A layout built only for the present forces an expensive, disruptive reset the moment you outgrow it.
At One Stop Pallet Racking, we design, supply, and install storage solutions for businesses across Australia, including Sydney, Melbourne, Brisbane, Perth, and Adelaide. This guide walks through how to approach warehouse layout design so your space keeps pace with your business rather than holding it back.
Why Warehouse Layout Design Should Plan for Growth From Day One
Reworking a warehouse is one of the most disruptive things an operation can do to itself. Unloading bays, dismantling racking, re-certifying the system, and absorbing the downtime all carry real cost, and none of it moves a single extra unit of stock. The value of good warehouse design is that it front-loads the thinking, so you create a layout that avoids that reset entirely, or at least pushes it years down the track.
Growth rarely arrives in neat, predictable increments. A single new contract can double your pallet count. A shift from bulk supply to online order fulfilment can change your entire picking profile overnight. A warehouse layout that only fits your current volumes leaves no slack for either. Designing with headroom means these changes become adjustments rather than emergencies.
There is a productivity dividend too. Order picking is consistently the most labour-intensive activity in a warehouse, and travel between locations can account for up to half of a picker's time. A layout that shortens those travel distances and removes bottlenecks lifts operational efficiency on every shift, which is why the design phase repays the effort many times over.
Start With Data, Not the Floor Plan
The instinct in warehouse planning is to start sketching racking onto the building outline. However,effective warehouse layout design starts with understanding how your stock and orders actually behave, because those patterns dictate everything that follows.
Map Your Stock and Order Profile
Before you position anything, gather the numbers that matter. Accurate measurements of both your building and your inventory turn a good idea into a workable warehouse floor plan.
- Pallet profile: How tall and heavy are your pallets? Do you store all of the same height product or do the heights of your pallets vary?
- Pallet and stock volumes: How many pallets do you hold, and how does that split between fast-moving stock and slow-moving reserve stock?
- Order profile: Are you shipping full pallets, cartons, or individual items? Pallet-out and piece-pick operations need very different picking methods and layouts.
- Throughput and seasonality What are your daily inbound and outbound volumes, and how much do they swing across the year?
Forecast Where the Business Is Heading
The final input is the one most operators skip: a realistic view of the future. Where will your pallet count, SKU range, and daily throughput sit in three to five years? Analysing these inventory characteristics upfront tells you how much high-density storage you need, how much room to reserve for expansion, and where a new layout will feel the strain first. Skip this step and you are designing for a warehouse you imagine rather than the one you run.
Map the Core Zones of Your Warehouse Layout
Every warehouse, whatever its size, is built from the same handful of functional zones. Getting the size and position of each right, and the flow between them logical, is the backbone of warehouse layout design.
Receiving and Unloading Areas
Your receiving and unloading areas, or reception area, set the pace for everything downstream. If inbound stock cannot be checked and put away quickly, it congests the loading docks and eats into aisle space. Size this zone for your busiest inbound day, not your average one, and keep a clear line from the dock to the storage areas beyond.
Storage Areas
The storage zone is the heart of the warehouse and usually the largest. This is where your pallet racking and shelving units live, and where most of your growth headroom needs to sit. The way you configure this warehouse space, and the racking systems you choose, is central to good warehouse design and drives how many pallets you can store per square metre.
Picking Zones
Picking zones should sit close to, or within, the storage areas to cut down the travel that dominates picking labour. Placing fast-moving items near the packing stations, a practice known as ABC inventory slotting, shortens the most frequent trips and lifts order fulfilment speed.
Packing Stations and Dispatch Areas
Packing stations and dispatch areas belong close together and close to the doors, so finished orders move in a straight line out of the building. Clear signage and location labelling across these zones improves picking accuracy and keeps quality control tight as order volumes rise.
Choose a Warehouse Flow: U-Shaped, I-Shaped or L-Shaped
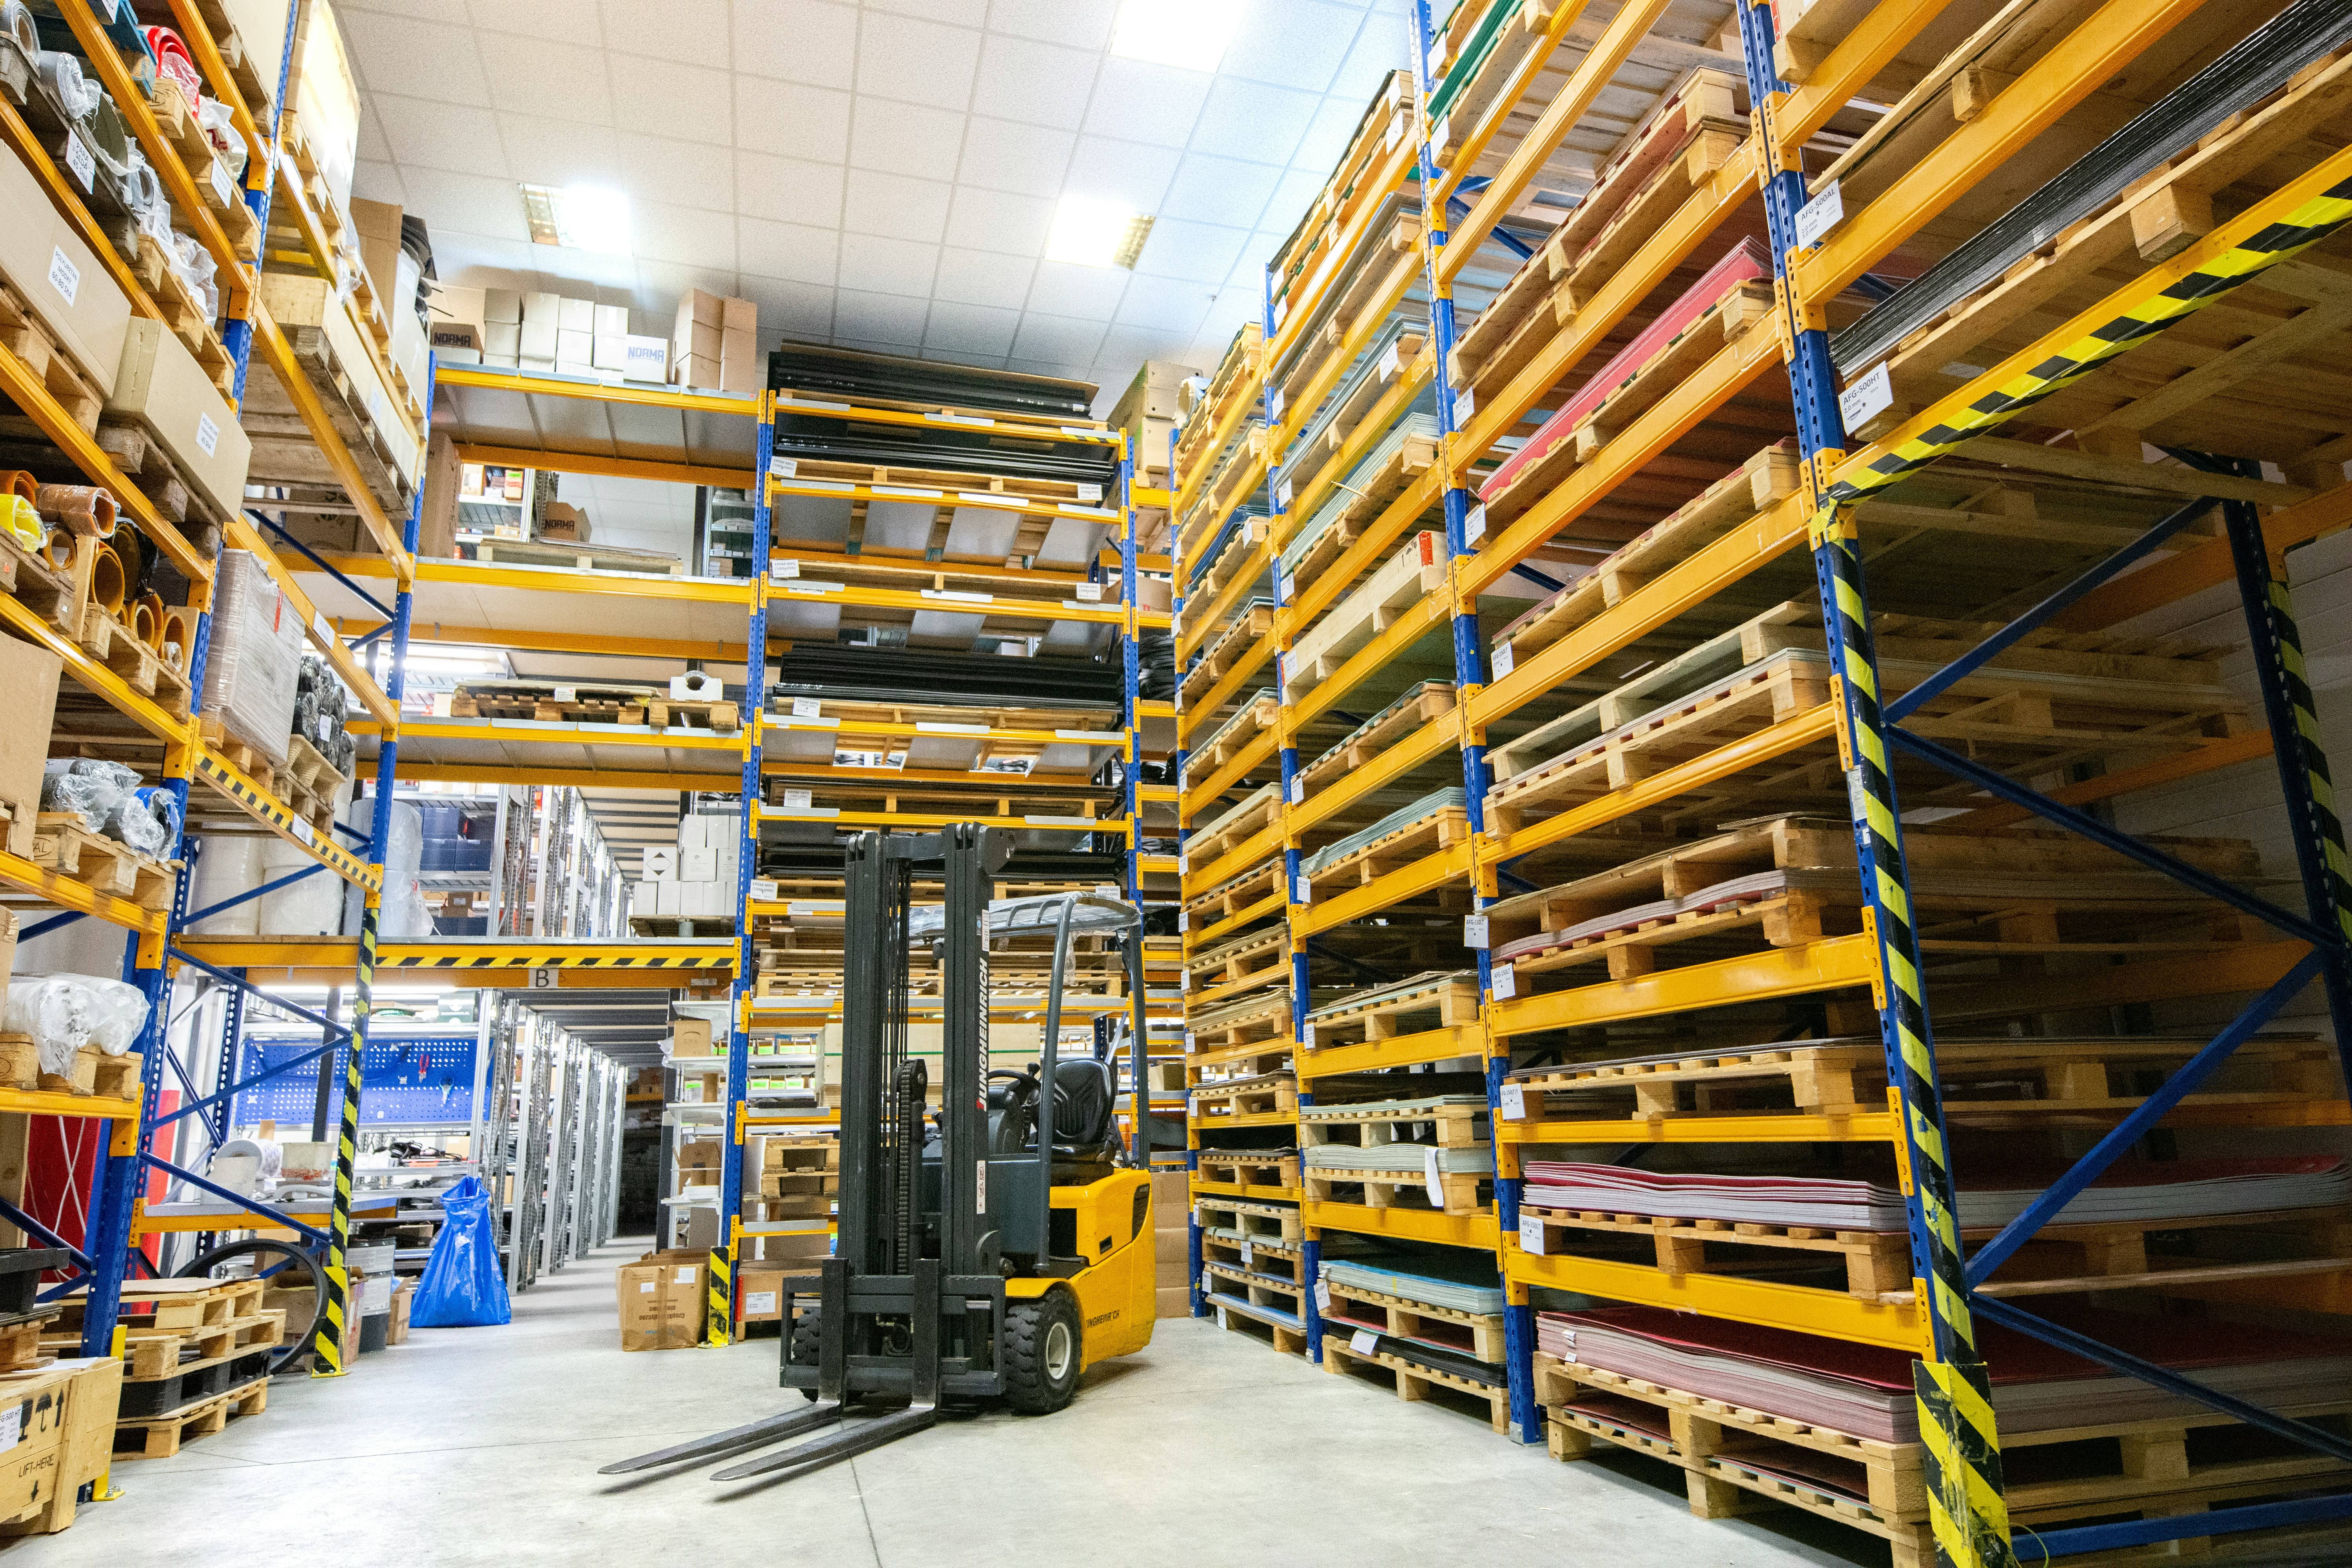
Once your zones are defined, the shape of the flow that connects them becomes the single biggest decision in your warehouse floor plan. The three main warehouse layouts are U-shaped, I-shaped, and L-shaped, and each moves goods through the building differently.
U-Shaped Warehouse Layout
A U-shaped design brings receiving and shipping areas onto the same side of the building, with storage running around the base of the U. Goods enter on one arm, move through storage and picking, and exit on the other. The U-shaped layout is popular for its simplicity and efficiency: it minimises handling and cross-traffic, separates shipping and receiving to reduce bottlenecks, and lets you share dock doors, staff, and equipment between inbound and outbound work. For many growing businesses, a U shape is the most flexible starting point.
I-Shaped Warehouse Layout
An I-shaped flow runs goods in one end of the building and out the other in a straight line, with storage and picking in between. This linear flow from receipt to shipment suits larger warehouses handling high volumes, because product never doubles back on itself. Receiving and dispatch sit on opposite sides, which keeps traffic moving in one direction and makes an I-shaped design well suited to high-throughput distribution centres.
L-Shaped Warehouse Layout
An L-shaped layout turns the flow through ninety degrees, with receiving on one side and dispatch on an adjacent side. It suits buildings whose footprint or door positions make a straight run impractical, and it helps reduce the back-and-forth movement that creeps into awkwardly shaped sites. Whichever shape you choose, the goal is the same: a logical flow that moves goods with the least backtracking and the fewest potential bottlenecks as volumes grow.
Build Upward Before You Build Out
When a warehouse feels full, the temptation is to spread out or move out. Yet the cheapest square metres in any facility are the ones you already lease, stacked vertically above your racking.
Make the Most of Vertical Space
Utilising vertical height effectively can increase storage capacity without adding a single square metre of floor. Many warehouses are fitted out with pallet racks that stop well short of the roof, leaving metres of clear air doing nothing. Before assuming you are out of room, measure your true clearance: the height to the underside of the roof structure and the position of sprinkler heads and services.
Tall racking and appropriately narrow aisles, paired with the right forklift, can lift pallet capacity by a third or more and dramatically improve space utilisation. In premium industrial markets, using high-density racking to make the most of vertical space is often the difference between staying put and paying for more floor.
Add a Mezzanine Floor
When the racking is already optimised and you still need more room, a mezzanine floor or pallet racking floor is often the most cost-effective way to expand. A well-designed mezzanine effectively doubles the usable area beneath it, creating space for slow-moving stock, order picking, longspan and industrial shelving, or even offices, all within your existing roofline. For a growing business weighing the cost of relocating against the cost of building up, building up usually wins on both price and convenience.
Choose Racking and Storage Systems That Flex as You Scale
Your racking is the single biggest lever on both storage density and future flexibility, so the storage systems you choose should suit how your stock moves now and adapt as that changes. The pallet racking range gives you several options, each with a different balance of access and density.
Selective pallet racking gives a forklift direct access to every pallet, which suits a wide range of SKUs that turn over regularly, and its adjustable beams make it easy to reconfigure as your stock profile shifts. Where you store goods in large volumes of the same product, high-density systems such as drive-in, push-back, and double-deep racking trade some accessibility for far more storage in the same footprint. Shuttle racking adds a motorised cart for high-throughput sites that need both density and speed.
Few growing warehouses are best served by a single system. The most scalable layouts blend two or three: selective racking for fast-moving pick lines, a high-density system for bulk reserve stock, and cantilever racking for long, awkward items like timber, steel, and piping. Designing that mix around your stock, rather than defaulting to what you have always used, is where the real, lasting capacity gains come from.
Leave Headroom: Modular Zones and Phased Rollouts
A layout that fits perfectly on day one, with no slack anywhere, is a layout that fails the moment you grow. Scalable warehouse design deliberately creates room to expand.
The most practical way to create this space is to plan the full floor plan upfront, then install in stages. Set out where future bays, lanes, and additional levels will go, including aisle positions and forklift circulation, then install pallet racking only where you need now.
When growth arrives, the next stage slots straight into space that was always reserved for it, with no reworking of what is already installed. Modular and flexible racking components make this straightforward, because beams and frames can be added, extended, or reconfigured rather than replaced, allowing the layout to adapt to changing inventory levels.
The same thinking applies to your zones. Leaving a defined buffer around receiving, dispatch, and staging means a seasonal surge or a new contract does not immediately spill stock into your aisles. Empty space feels like waste until the week you need it, at which point it is the difference between absorbing growth and grinding to a halt.
Design for Safe, Compliant Traffic Flow
Maximising density and throughput is only worthwhile if the result is safe and certifiable. Compliance with safety standards is essential in warehouse layout design in Australia, and it shapes the layout as much as any efficiency goal.
Every racking system installed in Australia must comply with AS 4084:2023, the current standard for steel storage racking, which sets requirements around floor fixings, upright protection, load signage, and inspections. Beyond the racking itself, your layout has to manage how people and machines move.
Separating pedestrian and vehicle traffic is one of the most effective ways to improve workplace safety in warehouse operations, and aisles must be wide enough for forklifts and equipment to move safely at your busiest times. Emergency exits must be clearly marked and kept unobstructed, and fire extinguishers must be located in their designated areas. Treating traffic management and compliance as design inputs from the start, rather than fixing them later, keeps each new stage of your warehouse certifiable as it grows.
Design for Technology and Future Automation
Even a purely manual warehouse today should be laid out with tomorrow's technology in mind. A warehouse management system improves inventory accuracy and directs picking, and that warehouse management system works far better when the layout gives every location clear, logical numbering. If automation is on your horizon, leaving room for conveyors, additional pick stations, or automated storage now saves a costly reconfiguration later. You do not have to install any of it on day one, but a warehouse layout that anticipates it will adapt to changing needs without tearing up the floor.
How One Stop Pallet Racking Can Help
One Stop Pallet Racking is a family-owned Australian business supplying pallet racking, longspan and industrial shelving, mezzanine floors, and complete warehouse fit-outs nationwide. We supply and install certified racking systems that are manufactured and tested to AS 4084:2023 Australian Standards.
Our design and consultation service is built for exactly this challenge. We assess your building, stock profile, forklift fleet, and workflow, then create a warehouse layout that works today and has a clear path to scale as you grow. Because we handle supply, delivery, and installation in-house, we can stage the work around your operating hours to keep disruption to a minimum. From private warehouses to major distribution centres, no project is too big or small.
Ready to design a warehouse layout that grows with your business? Call us on 0410 894 157 for Sydney, Melbourne, and Adelaide, or 0449 894 158 for Brisbane, Gold Coast, and Perth, or request a quote online today.
Warehouse Layout Design FAQs
How much floor space should I leave for future growth, and how do I calculate it?
A useful rule of thumb is to design around where the business will realistically be in three to five years, then hold back roughly 15 to 25 percent of capacity as space for growth and seasonal peaks. To size it, take your current pallet count, apply your forecast growth rate, and add a buffer for your busiest month rather than your average. The important part is reserving that space in the plan from the start, with aisle positions and forklift paths already accounting for it, rather than finding it later by squeezing racking into gaps.
Should I use warehouse layout design software or hire a professional?
They serve different purposes and work best together. Layout software and CAD or 3D modelling are useful for visualising options, testing aisle widths, and sharing a bird's eye view of the plan with your team. What software cannot do is judge whether a forklift can safely work in a given aisle, or how a design meets AS 4084:2023. A professional assessment brings that engineering and compliance judgement, which is why most well-executed designs pair modelling with a specialist who understands the industry.
Do I need council or building approval to change my warehouse layout in Australia?
Rearranging or adding pallet racking generally does not require development approval, since racking is treated as equipment rather than a structure. Structural changes are a different matter. It is worth confirming the approval pathway early, and a supplier who installs these systems regularly can tell you what documentation your project is likely to need.
What are the signs my current warehouse layout needs redesigning?
The clearest signals are operational rather than obvious. If stock is regularly stored on the floor or in aisles, if pickers are walking noticeably further than they used to, if dispatch backs up during peaks, or if you are turning away pallets you have nowhere to put, your layout has stopped keeping up. Rising picking times, near-misses around forklifts, and creeping overtime are also strong indicators. Many operators find a layout review pays for itself well before a full redesign becomes unavoidable.
How is a warehouse layout for a third party logistics or multi-client site different?
Third party logistics operations carry the added challenge of serving multiple clients with very different stock and order profiles under one roof. The layout usually needs clearly separated zones per client or product type, flexible racking that can be reallocated as contracts come and go, and generous staging space near dispatch to handle several clients' outbound work at once. Modular systems and a floor plan that can be re-zoned quickly matter even more here than in a single-user warehouse, because the mix of goods can change with every new account.